- Español
- Português
- русский
- Français
- 日本語
- Deutsch
- tiếng Việt
- Italiano
- Nederlands
- ภาษาไทย
- Polski
- 한국어
- Svenska
- magyar
- Malay
- বাংলা ভাষার
- Dansk
- Suomi
- हिन्दी
- Pilipino
- Türkçe
- Gaeilge
- العربية
- Indonesia
- Norsk
- تمل
- český
- ελληνικά
- український
- Javanese
- فارسی
- தமிழ்
- తెలుగు
- नेपाली
- Burmese
- български
- ລາວ
- Latine
- Қазақша
- Euskal
- Azərbaycan
- Slovenský jazyk
- Македонски
- Lietuvos
- Eesti Keel
- Română
- Slovenski
- मराठी
- Srpski језик


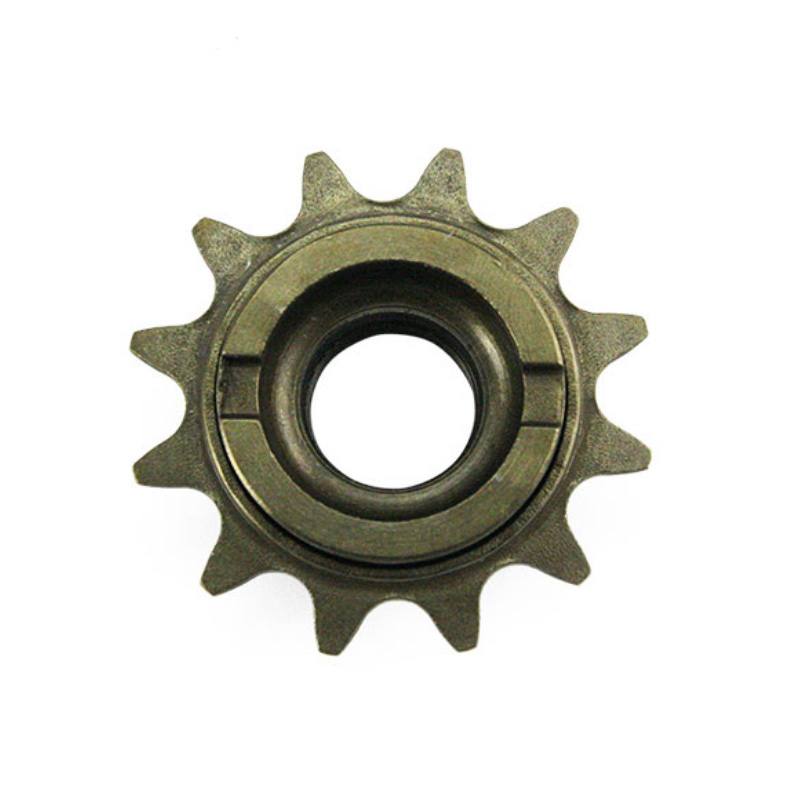
Removal and Installation of Bicycle Flywheel
2022-04-02
Removal and installation of bicycle flywheel
First remove the rear wheel from the frame, remove the quick release lever, pay attention to the small springs on both sides. Install the flywheel cover tool on the flywheel cover, aligning the splines and grooves. If the contact is shallow and the flywheel cover tool is hollow, use the quick release lever to hold the tool in place. Some cassette cover tools come with a needle in place of the quick release lever.
Install the sprocket retaining tool so that it fully engages the sprocket. The function of the flywheel fixing tool is to prevent the flywheel/freewheel from rotating when the flywheel cover is loosened. If facing the flywheel, have the handle of the tool on the rear side. Then unscrew the flywheel cover. With the wheel on the workbench, with the flywheel facing upwards, use a large adjustable wrench to turn the flywheel cover tool counterclockwise, while applying reverse force to the flywheel fixing wrench. Please apply some pressure to the sprocket fixing wrench to prevent the chain from falling off the sprocket. If the chain slips repeatedly, the sprocket is worn.
Then unscrew the flywheel cover and put it aside. Remove the sprocket from the freewheel body. Remember where the gaskets are and keep them out of the way. The order of installation later is the exact opposite of the order of removal. Due to the softness of the aluminum freewheel body, the flywheel may get stuck on the freewheel body. Independent steel flywheels are prone to this situation. If several pieces are connected together, this situation is not common because the force can be dispersed. The cassette can be gently pryed open with a screwdriver, or knocked loose from behind with a hammer.
Clean the sprocket and freewheel body, paying attention to the position of the gasket. Check whether the flywheel teeth are damaged. If there are burrs, file them with a file. Before installation, pay attention to the bolt groove on the freewheel body and the convex key on the sprocket. There is one bolt groove on the freewheel body that is smaller than the other bolt grooves, and this design ensures that the flywheel only slides in one direction. The sprocket can be easily replaced by finding the corresponding key on the sprocket. This ensures that the shifting points of the flywheel are arranged as designed.
Correctly align the sprocket and put it back on the freewheel body, paying attention to the installation sequence, especially the position of the gasket. Some cassettes will use a large bracket to connect several sprockets together, others may have each sprocket independent. With some cassette and hub combinations, especially 10-speed cassettes, the smallest sprocket can only be fully seated in the peg slot when the cassette cap is fully tightened. When tightening the sprocket cover, be careful not to dislocate the smallest sprocket. Start by hand-tightening the flywheel cover clockwise until it stops.
Carefully check that the cassette is evenly spaced, then use a wrench to fully tighten the cassette cover. Turn the flywheel slowly and observe from behind. If you find that the flywheel is shaking or the spacing is wrong, you need to remove the flywheel again to find the problem. As a final step, use an adjustable wrench to tighten the flywheel cover clockwise until tight.
Previous:Adjustment of Bicycle Derailleur